Gardening for Beginners – How to Sow and Prick out Seeds
Whether your new to gardening or just need a refresher, learn all the ins and outs of how to prick and sow seeds with us at British Garden Centres. In this entry we will run down the basics and demystify confusing terminology you may encounter along your journey.
What do I need to start?
Sowing seeds is nice and simple for a good variety of vegetables, herbs, hardy and half-hardy annuals. Hardy annuals are simply resistant plants that grow and flower in a single season. If you find any terminology you don’t understand, refer to our Terminology made Easy Guide for a quick breakdown.
Most seeds can be directly sown outdoors, although some will need to be planted in warm propagators to settle first. You’ll need a few basic tools to get started. If your in need of some new tools, you can browse our wide range of Garden Tools Online.
For indoor sowing you will need a seed tray, compost, a watering can with a very fine rose, a propagator lid and a label!
For outdoor sowing you will need a border fork or hand fork, a dibber for larger seeds, and depending on your soils condition, a rake.
How to Sow Seeds Indoors
Some seeds need warmth in order to properly germinate and establish themselves. Typically you want to sow tender crops such as tomatoes, cosmos and sweet peas indoors. Although if the weather permits they can be planted outside too, just make sure the final frost has passed. You can always check the back of the seed packet to be sure.
Start by filling your Propagator tray with seed compost or general multi-purpose compost. Flatten the soil and sow your seeds. Scatter thinly and evenly as you don’t want the roots competing with each other. Next, cover the seeds with a bit more compost and give them a fine watering with your rose attachment.
Finally, cover your seeds with a propagator lid and place them in warm sunny spot – either a greenhouse or a suntrap windowsill. Once you see seeds germinating, remove the propagator lid and water them every few days.
As they begin to grow, you will need to “Prick” them out of their original tray. See below on how to do this.

How to Sow Seeds Outdoors
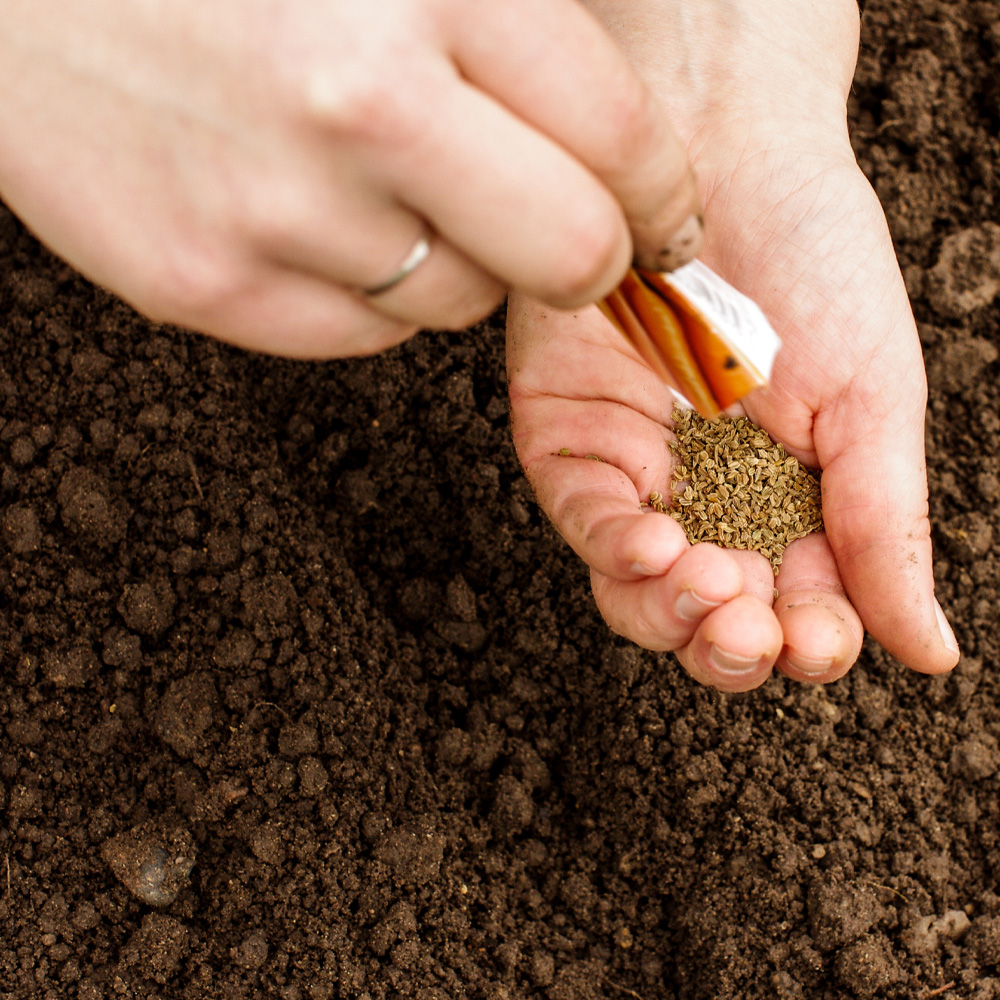
Start by clearing your patch of soil of any weeds, large rocks and debris. If your soil is particularly clumpy, rake until you have a fine and flat surface. With your hand or a small stick, create a “Drill”. This is a small hole typically dug in a straight line for the seeds to be sown in. If your unsure about the depth, check your seed packet for guidance, though a good 2-3cm typically suffices.
Next, give the drills a good water before sowing, as if your have small seeds watering after planting can wash them away – causing them to grow unevenly. Space your seeds fairly along the drill as you don’t want the roots competing with each other. Cover them up and water the sown area gently to help settle the soil and don’t forget to label them!

When to Prick out Seeds
Indoor seeds can quickly outgrow their sowing propagator, this is when they need to be transferred to a larger tray by “Pricking”. This is the process of gently removing seedlings and replanting them. A good tell on when seedlings are ready to be moved is after they grow their first pair of “True Leaves”. You may come across this phrase a lot for indoor sowing, but what does it actually mean?
True leaves have the appearance of the fully grown adult plant, and all future leaves will grow like this. Depending on what you chose to grow, they can look drastically different from the cotyledon leaves (the first leaves the plant sprouts with) making them easy to spot. They should have the pattern and sometimes colour of the adult plant.

How to Prick out Seeds
Now that your seedlings are ready, its time to transfer! You will need a small pencil-like object, seed trays or small pots, a watering can with a rose attachment and bedding compost.
Begin by preparing your seed trays or pots. Fill your pot/propagator with bedding compost, flatten it out and drill a small hole ready for your seedling. Next, gently lift the seedling and use your dibber/pencil to lever out the roots. Do this whilst holding the leaf, not the stem as you can very easily crush the stem – killing the plant.
Carefully place your seedling into its new home, burying it deep enough so the soil is just under the base of the leaves. Try to plant the seeds upright and if in a large propagator, evenly spaced from one another. Give them a good watering with a rose attachment as to not disturb them and place in a greenhouse or sunny windowsill.
The purpose of pricking is to encourage your plant to go from its seed stage to its growing stage. Now they will begin to properly flourish and can be planted out at your discretion. If you don’t transfer them they can suffer from “Damping off” causing your seedlings to wilt and decay. Typically Damping off occurs when seeds are sown to close together or are grown in a high humidity propagator without proper air circulation.


