


Young Gardener's Summer Holidays!
We will be putting out activities, each week, for the whole of the school summer holidays to keep your little ones occupied whatever the weather!
We will be updating this page each week, with new fun summer activities for you to enjoy, allowing your children to craft and be creative!
We have lots of other young gardener blogs that we feature throughout the year too, so there will definitely be something available to get your kids' creativity flowing.

DIY Bird feeders and Your Family 'Potrait'
Two great activities for the final weeks of the summer holidays!
Enjoy a few more activities before school starts again. This week we have two really fun hands-on activities for the whole family to enjoy.
Making your own DIY bird feeders and creating your own family ‘potrait’. We have step-by-step guides to help you create your masterpieces.
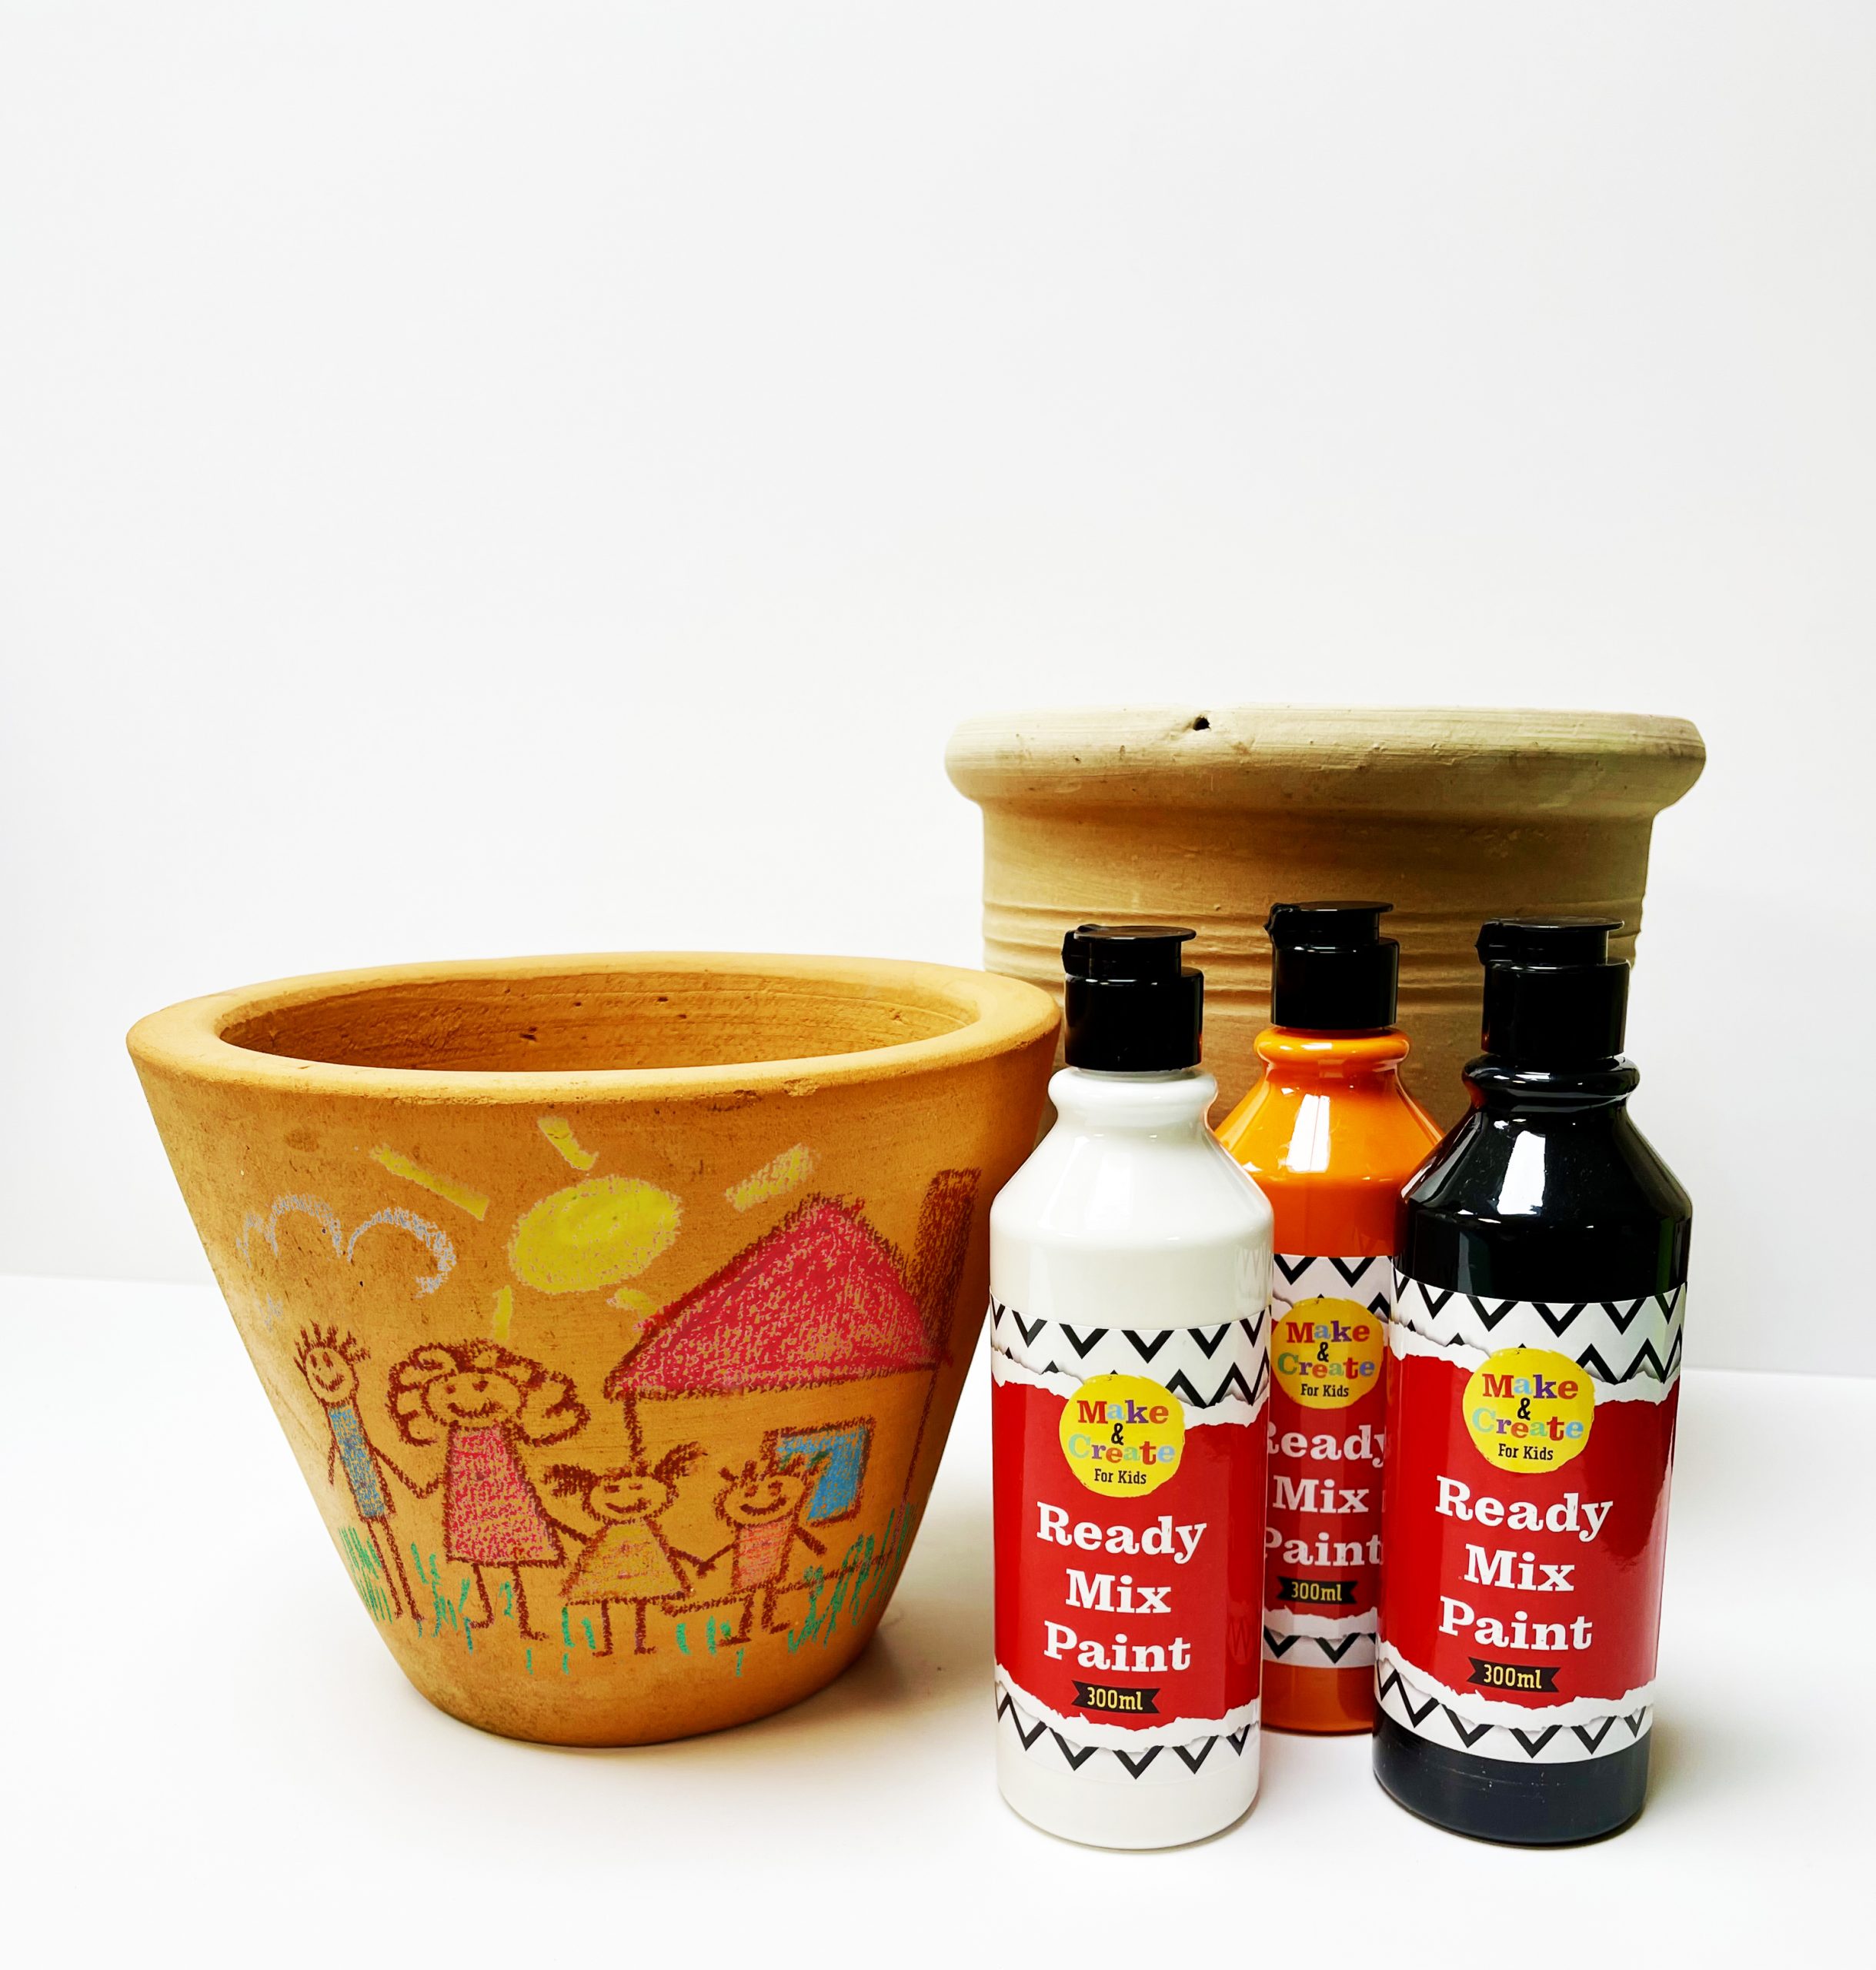
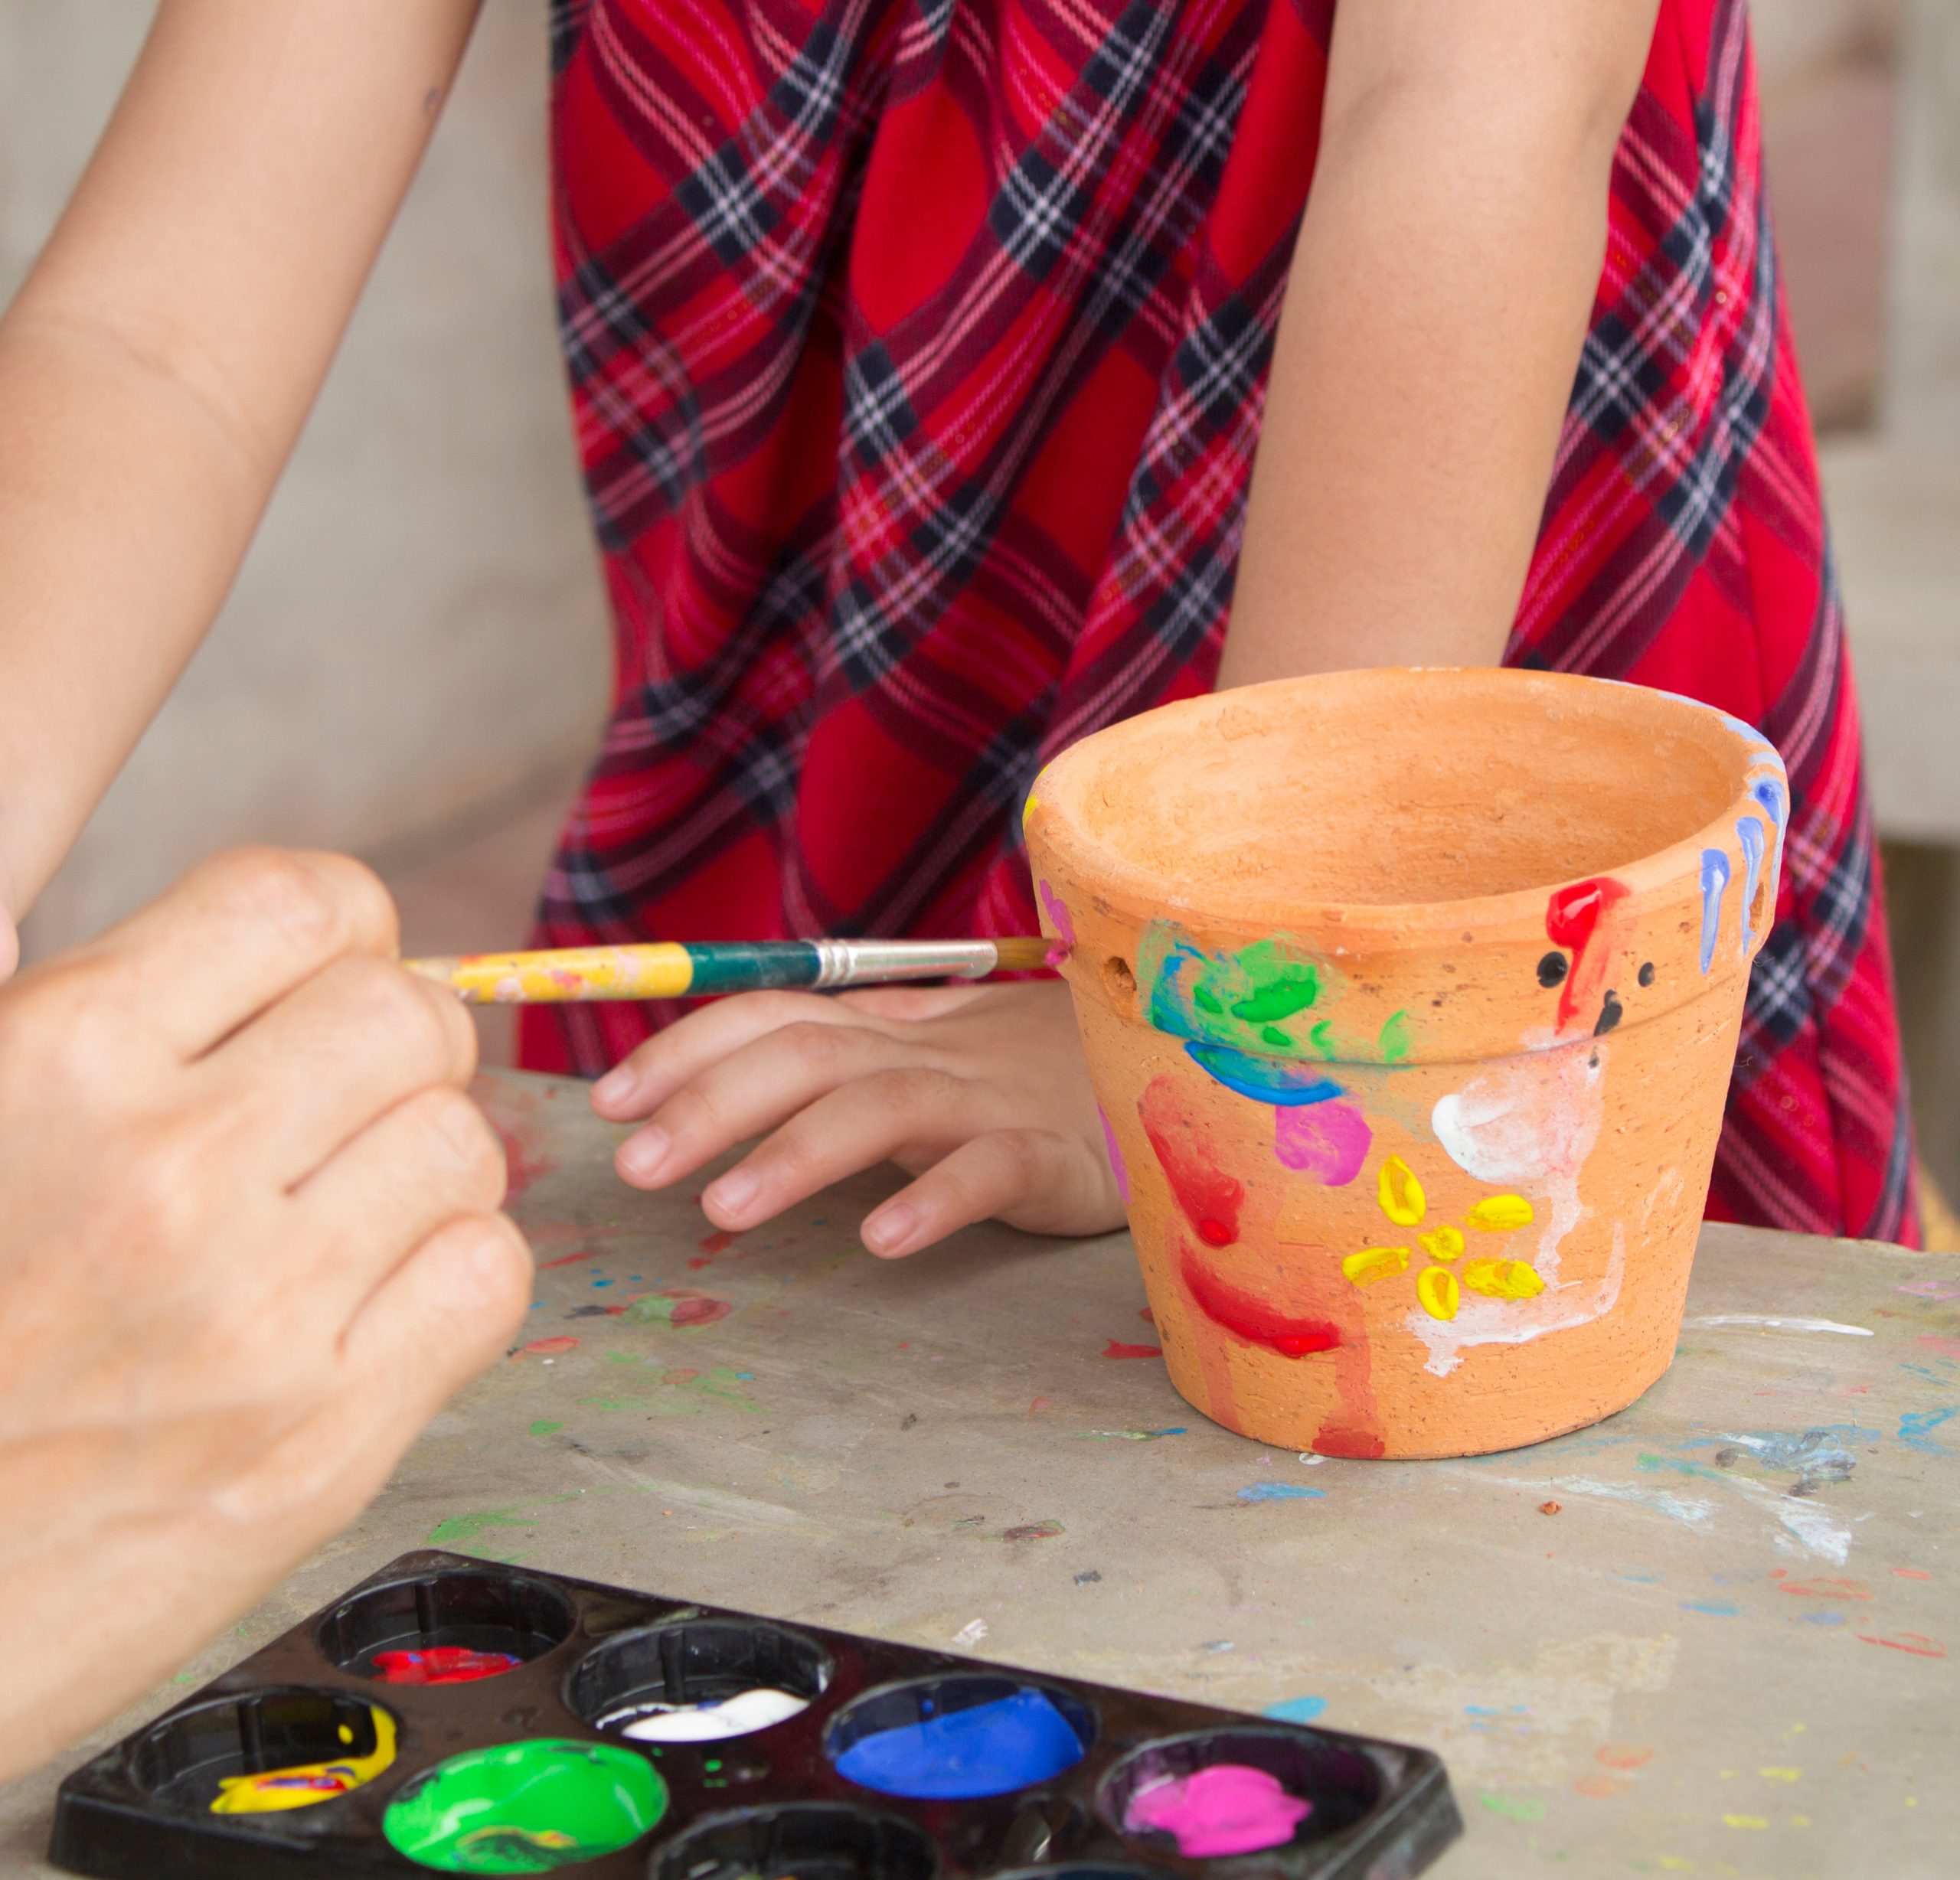
Making your own family 'potrait' is quite simple, as you don't need many supplies.
All you need is:
Terracotta Pot
Paint or Chalk
Small and large paint brushes (Foam and bristle brushes)
*Optional* Clay pot sealer
Step 1:
Make sure your pots are clean. It’s best to soak them in warm water for 30 minutes and scrub dry with a towel.
This is particularly important if you are using old pots that have previously been used.
Step 2:
It is an optional choice if you want to paint the pot a base colour. If so, we recommend white as it will create a clean canvas to paint and draw onto. However, this is not necessary
If doing this a foam brush will allow for a more even coat and you can avoid brush lines.
Step 3:
Use a pencil to draw and outline your design. Make sure there is enough space for each of your family members including any pets, as we want to see them too!
This will make the painting process easier for you.
Step 4:
Layout each paint colour you want to use onto paper plates or use a paint palette. This will make the process a lot easier as you will have easy access to all the paint you’re using.
If you are using chalk, make sure you have all the colours you will need.
Step 5:
Once your outline is drawn, it is time to start painting.
Draw and paint in the same style you would on paper, this will make the process easier.
Step 6:
Leave your pot to dry in a sunny spot, preferably inside to avoid any potential rain. Once your pot is dry, be sure to take a photo and tweet us @BGCentres using the hashtag #MyFamilyPotrait
We can’t wait to see what they look like.
Optional Step 7:
The last step is for the parents
If you are planning on keeping your pots outside once decorated, be sure to seal the paint with a clear clay pot sealer. This will ensure they don’t get ruined in the rain or any bad weather.
This last step is for adults, as sealant should not be used by children.

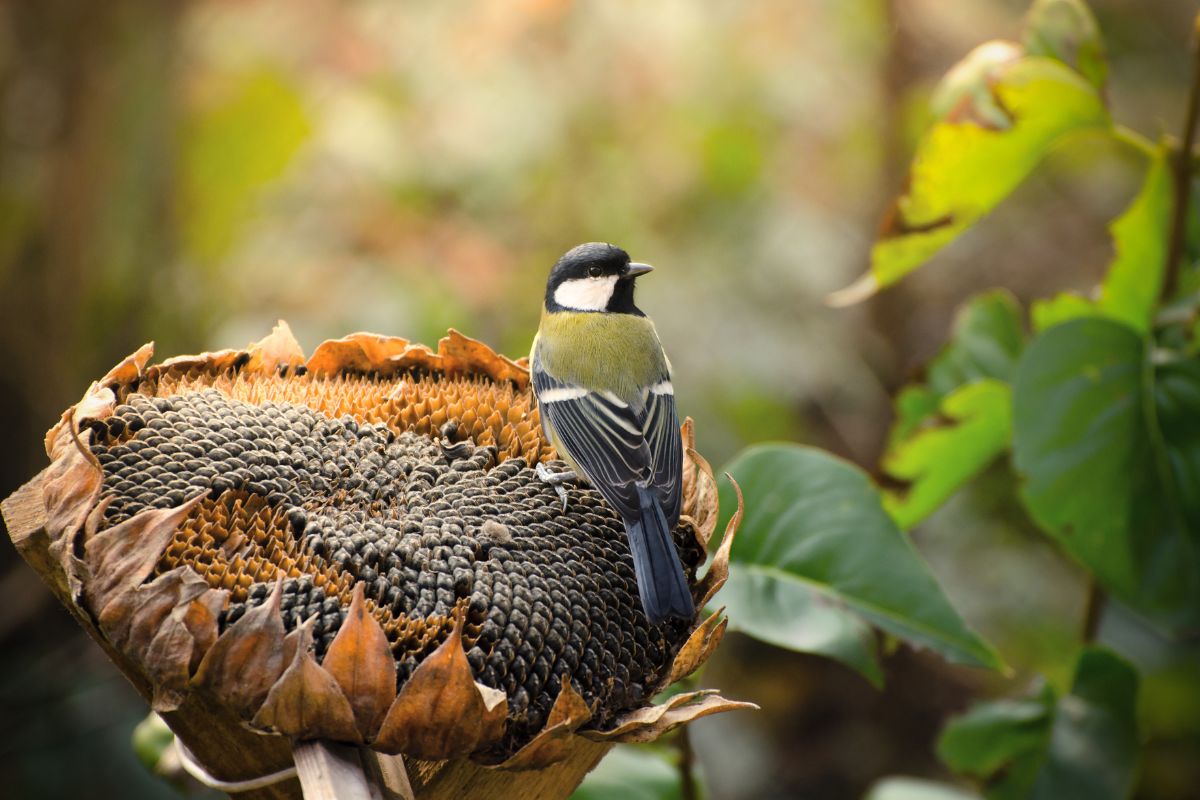
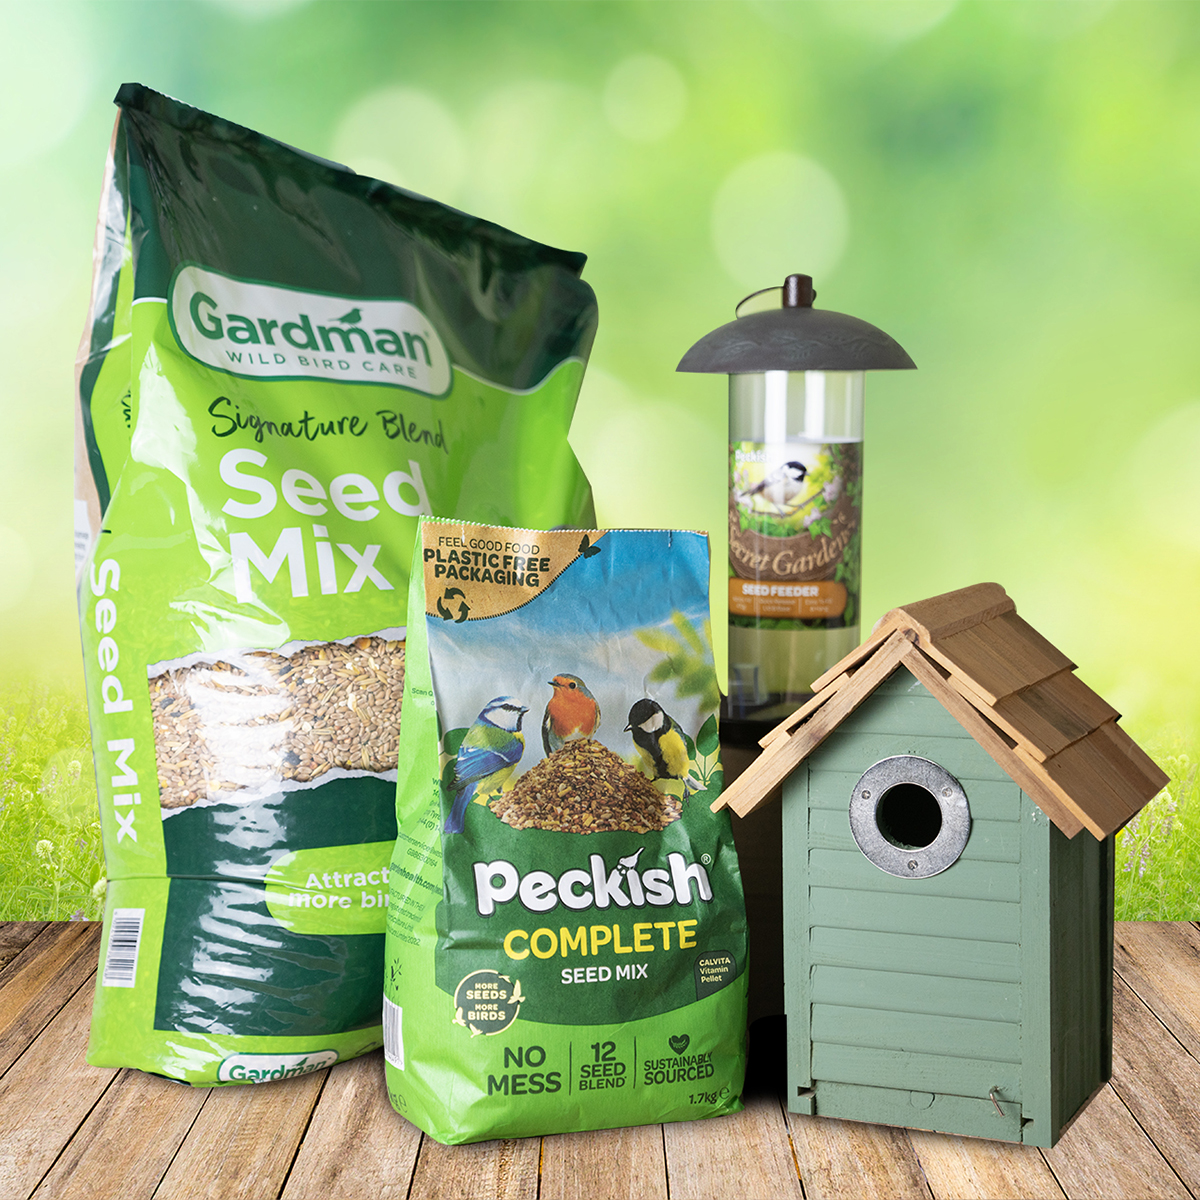
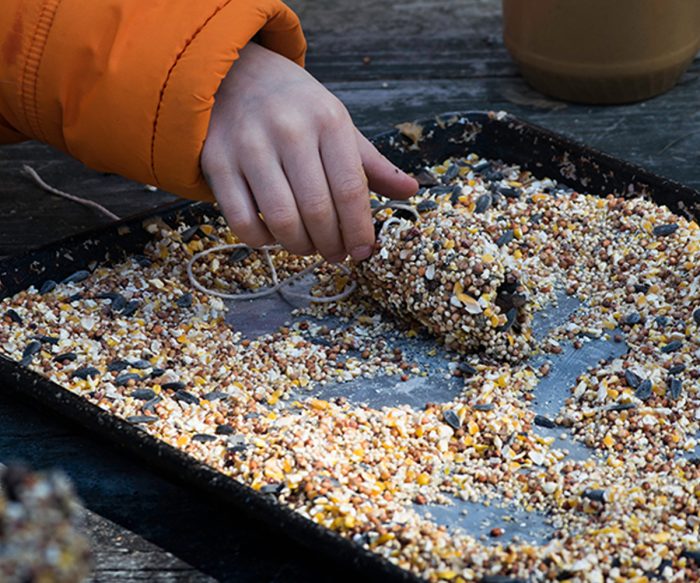
DIY Bird feeders
During autumn and winter birds need a constant supply of food to keep them fed and warm, your garden can be their destination, by creating your own bird feeder. If you make your garden a haven for birds you can enjoy watching them all year round.
With our guide, you can make a heart-shaped bird feeder, but you can make any shape you would like all dependent on what cookie cutters you have. It can be animal-shaped, circles, anything!
Download the guide below to view what you’ll need and the step-by-step process!
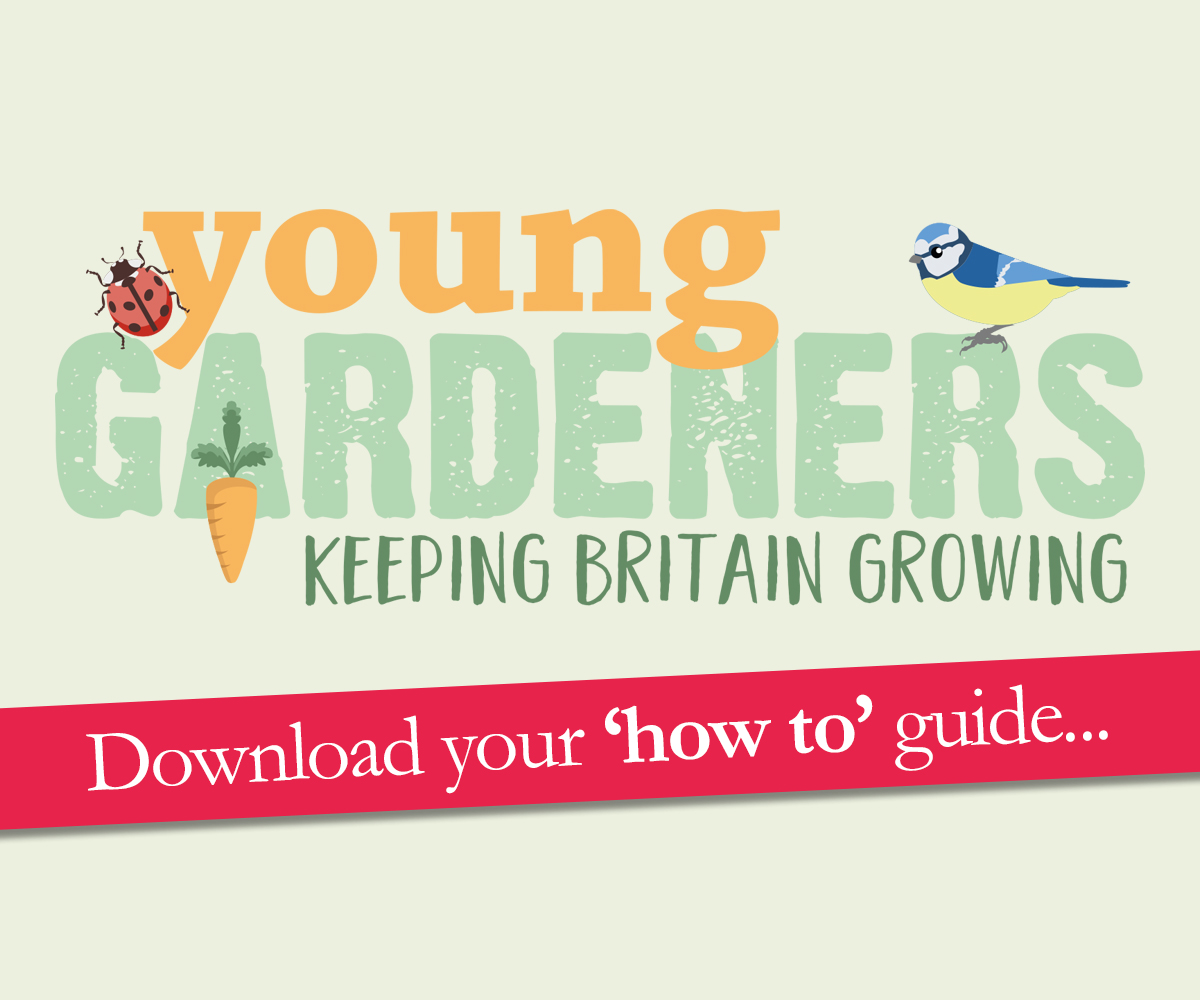
Download our 'How To Guide' so you can make your own heart-shaped bird feeder! Simply click the link and get making.
Download our colouring sheets! As you keep an eye on your new bird feeders you can colour in the ones you have spotted.
Summer Photos
This week's summer holiday activity is all about be amongst nature!
This summer we have an incredible activity to connect you and your children with nature! Showcasing their creativity and eye for detail through photography, capturing their surroundings and seeing the world through their point of view.
We want to see what they see in nature from a bird in your garden to the sunset on your summer holidays. Being immersed in nature is a great way to improve and develop mental and physical well-being in both adults and children. Go out and explore nature, but don’t forget to take photos.
Some of the best photos will feature on our British Garden Centre Instagram account during September. Tweet us at @BGCentres on Twitter or tag us in your Instagram posts with your name and age. Remember to use the hashtag #PhotosForBGC so we can see and share it.

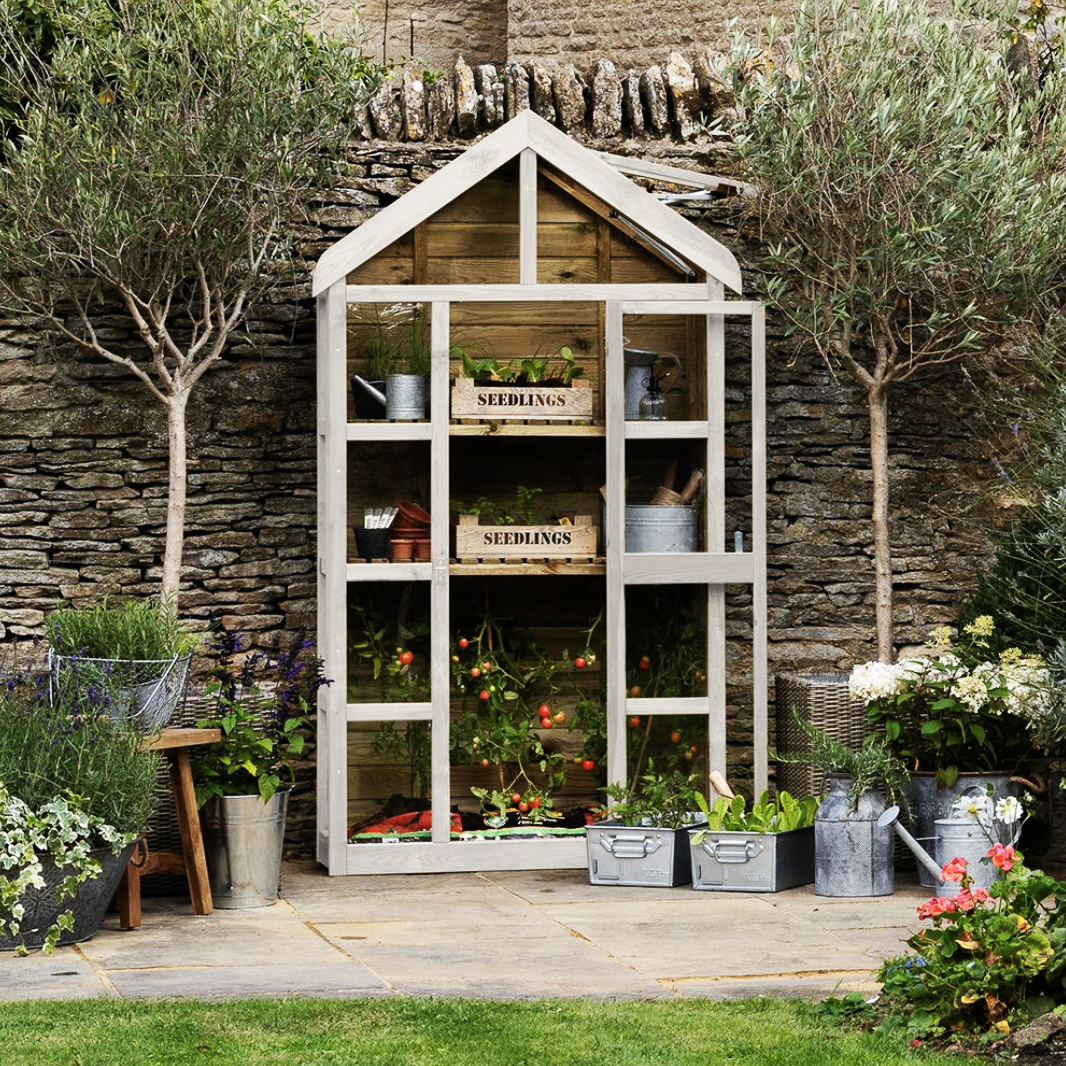
Create a Mini Garden Competition
This summer we have an incredible activity to connect your children with nature and bring out their creative side. Design and create your own mini garden with us!
Your children can create their own mini garden, by following our video and step-by-step guide below. This is a great way to develop gardening knowledge and connect with nature.
A selection of plants and cuttings, aggregates, gravels, and accessories should be used to create a beautiful landscaped mini garden. Add a water feature, create paths, get creative with structures and add some characters to bring your garden to life! We want to see what you can create.
What you’ll need:
- Seed tray/ shallow container
- Soil
- Dwarf trees/ Alpines
- Aggregates/ gravel
- Plastic seed/ container lid
- Succulents (Great alternative or for a tropical-themed garden)
- Sand
- Water
- Lollypop sticks
- Plant cuttings
You can add anything you would like to your garden, be as creative as possible.
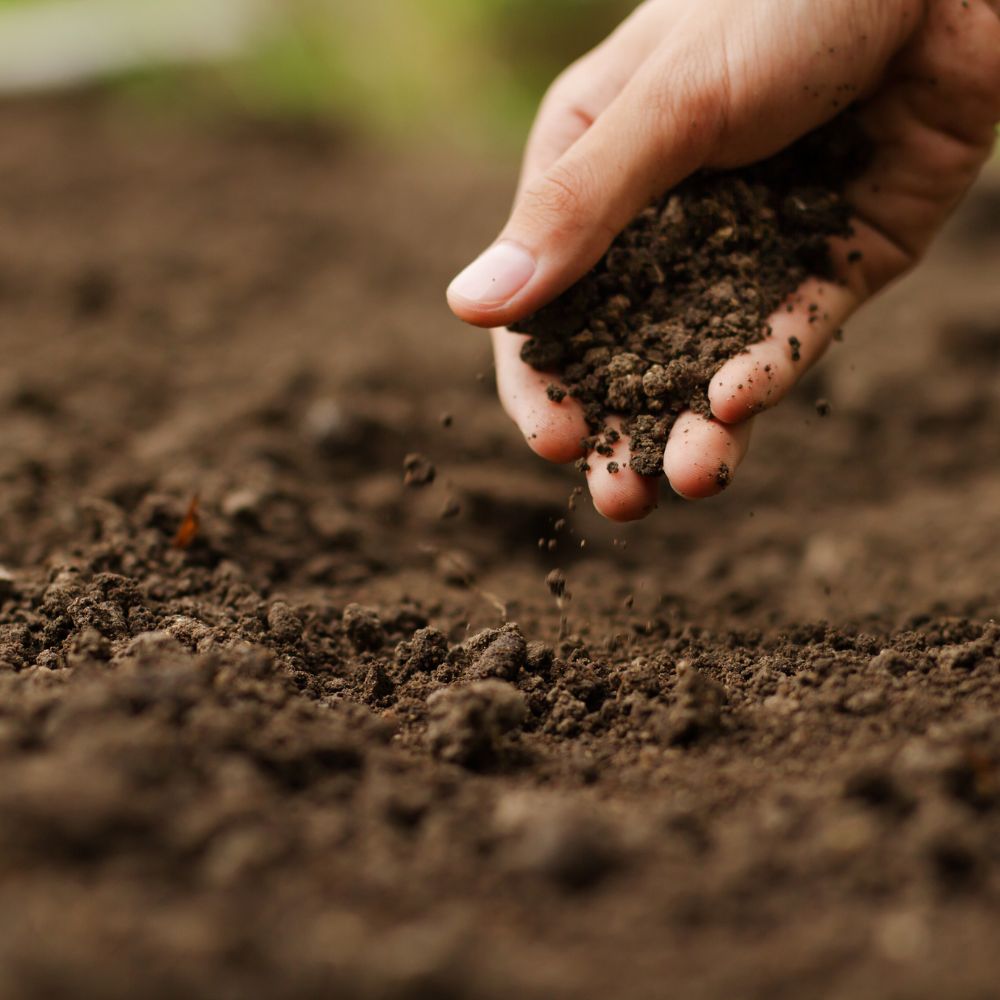
Step 1:
Firstly, half fill your seed tray or container with soil. This will create the base of the garden.
Step 2:
Dig shallow holes to plant your ‘mini trees’. We recommend dwarf trees or alpines.
Top tip: Try cutting from fuchsias or small flowers to create beautiful floral areas!
Step 3:
Create a mini pond in your garden using a plastic container lid or a smaller seed tray.
Top tip: Create a birdbath in your mini garden to attract your feathered friends.
Step 4:
Landscaping is always great! Get creative with gravels, stones, rocks, and sand to create paths and borders. This will help structure your garden and add layers and texture.
You can use all sorts of products to decorate and design your garden. Lollypop sticks are great to create decked areas.
Step 5:
Decorate your garden border, add fences and gates using lolly-pop sticks. This will take your mini garden to the next level.
Top tip: Build a mini-insect house in your mini garden to attract minibeasts!
Step 6:
*Optional*
Add some figurines to your mini-garden, and make it stand out, giving them their own garden space.
Don’t forget to send us your mini garden photos to enter the competition!
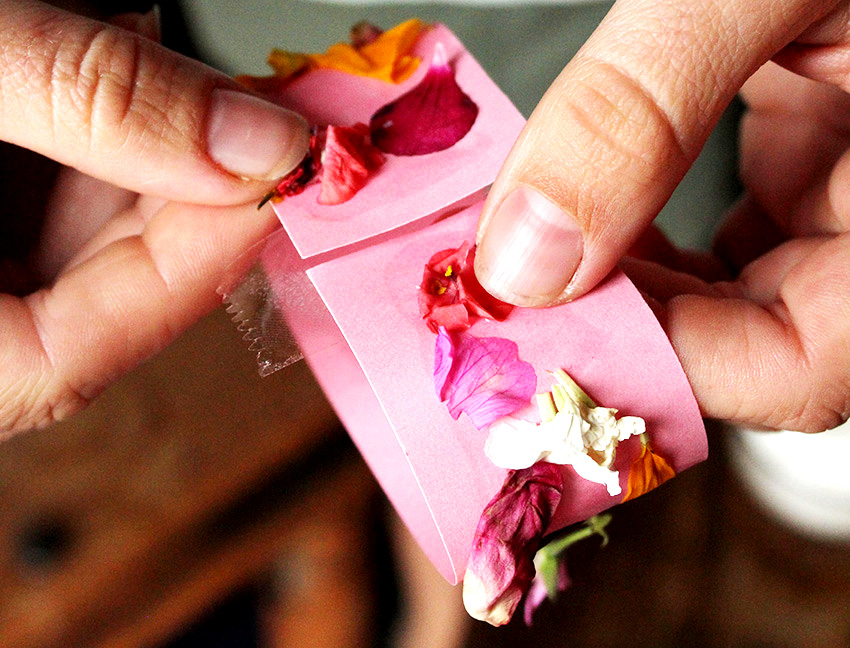
Flower Bracelets.
This little craft project is so cheap simple and is really fun to do! Follow our how-to guide to make these pretty bands with your little ones!
What you will need...
- Scissors
- Card
- Glue
- Sticky Tape
- A selection of flower petals and small leaves foraged from your garden or on walks!
Where to start...
1) Collect small flowers, petals and leaves from your garden. You don't need too many. A variety of colours and shapes will lead to a beautiful finished wristband!


Next you need to...
2. Lay out all of your collected flowers on a sheet of paper so you can see clearly what you have. Gently pick the petals off of the smaller flowers to create more manageable pieces.
Making the wristband...
3) Cut your card into thin strips, making sure they are long enough to fit around the wrist. Lay the strip of card on the table then evenly spread the PVA glue across its surface.

The messy bit...
5) Arrange your chosen petals, leaves and flowers along the sticky layer of the glued surface. There will be some messy hands with this bit but get creative!

The finishing touches...
6) Leave your bracelet to dry and then you can roll the cardboard strip into a circle and secure it with sellotape. Make sure there is enough room to put your hand into the loop still.
Wow, look what you have made...
7) Now it's time to show off your hard work and new jewellery! You could make 2 or 3 of these bracelets and give them as gifts to family and friends. OR you could even make a flower headband this way! Just make sure the cardboard strip is big enough to fit around your head before starting...the opportunities are endless with this craft!

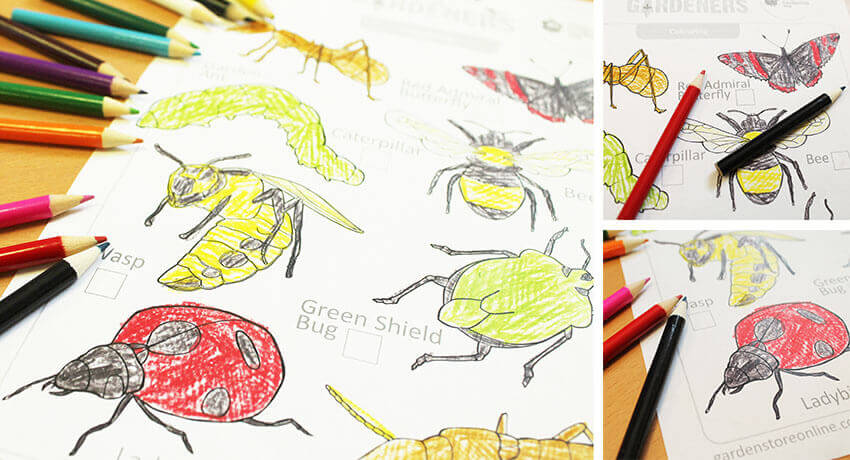
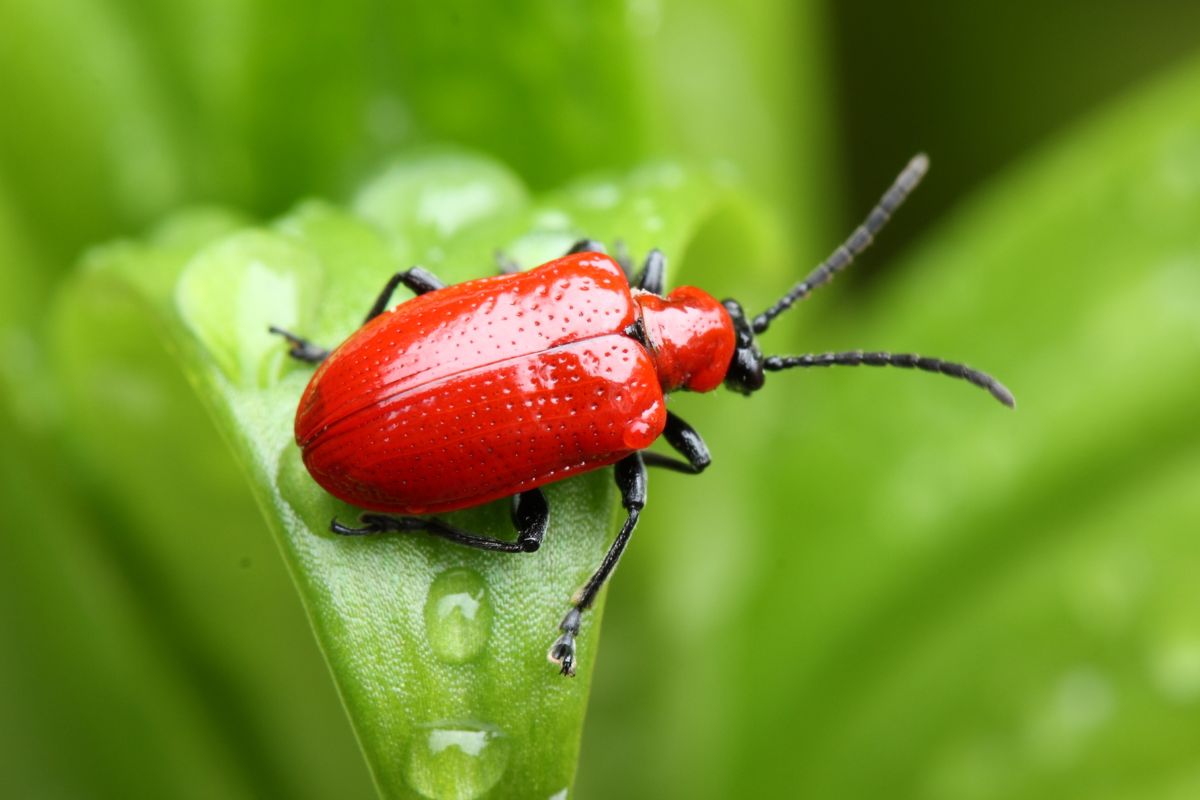
The Bug Hunt.
Simply download the page, colour it in and see how many you can spot in your garden or when you are out and about in the countryside.
There are so many species of minibeasts and bugs in our garden it is hard to count them all. We have made a colouring page of our personal favourites. See what you can find!