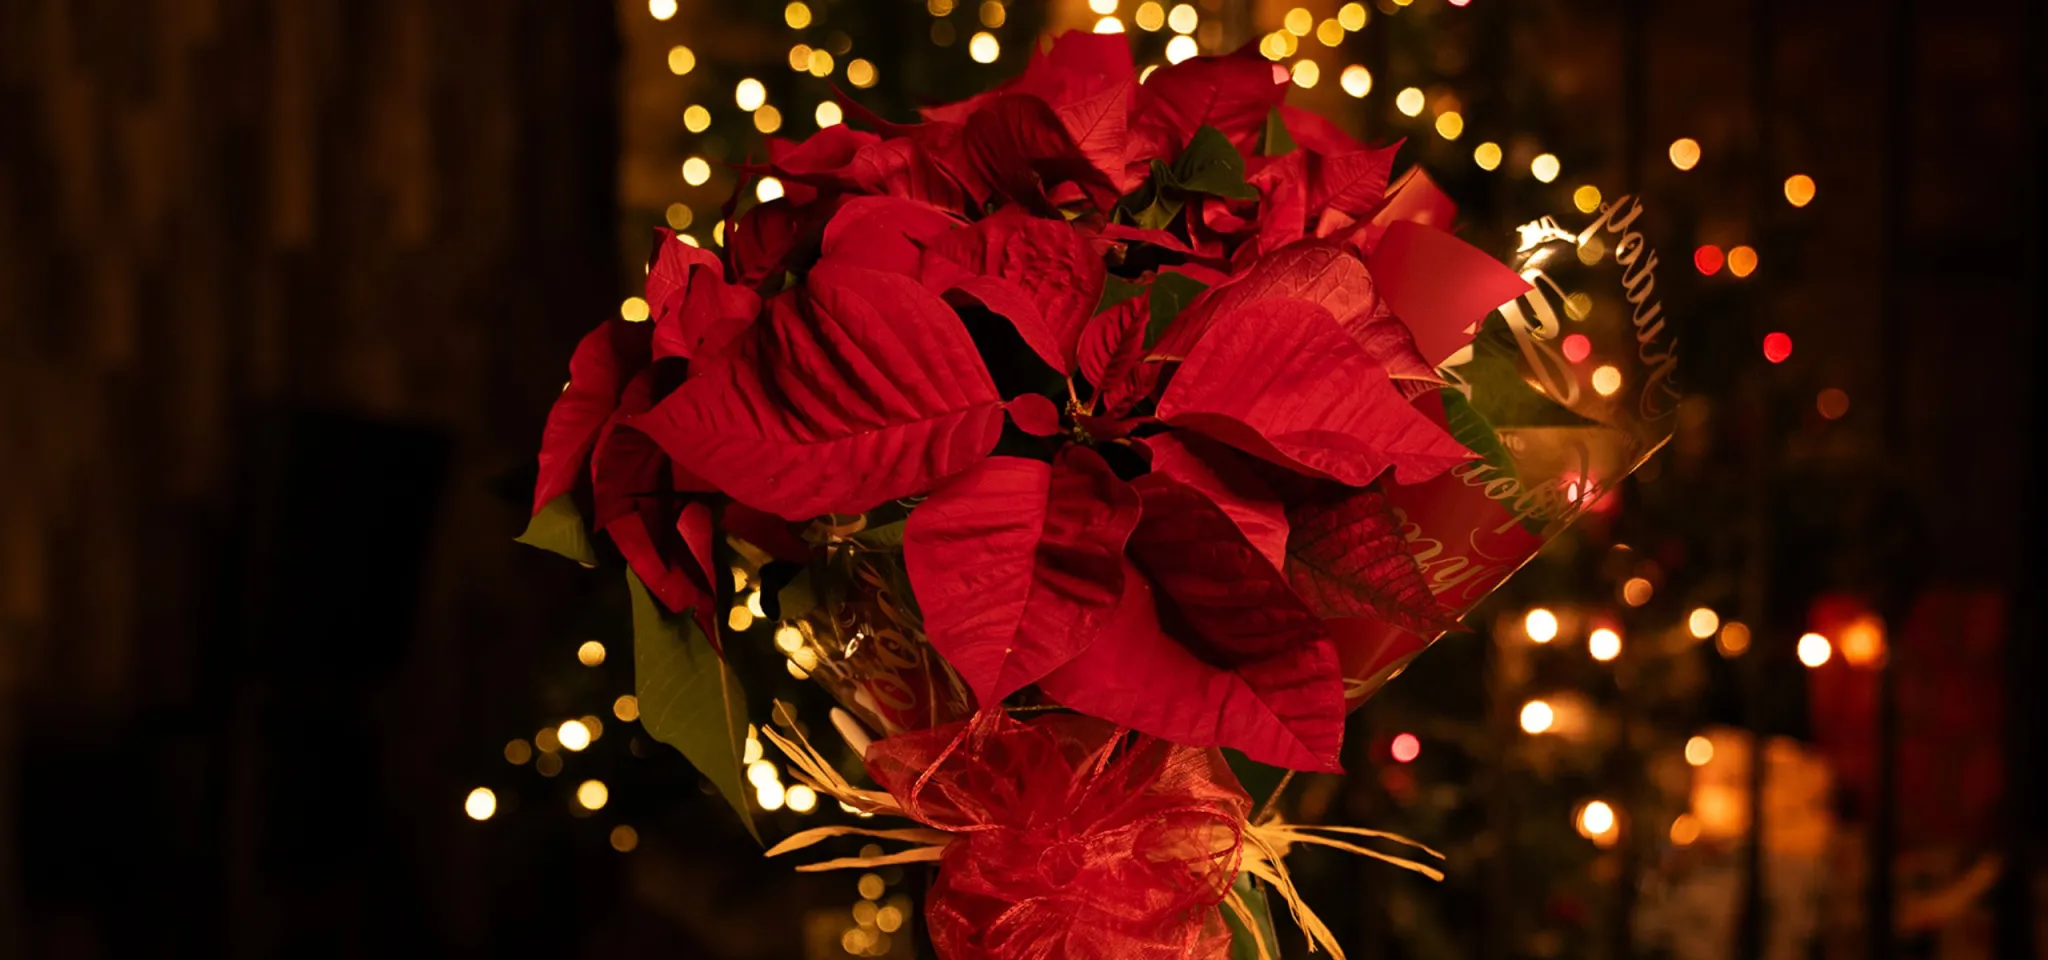


Christmas how to...
Welcome to our Christmas 'how-to' Blog page. Packed full of useful tips, tricks and guides to make your Christmas extra special this year. With some great advice from David Domoney to help you get the most out of your Christmas and the winter season.
Here we have compiled a list of top tips for choosing a tree to suit your home and lifestyle perfectly. Whether it be an artificial tree or a real living Christmas tree, we hope our blog helps you decide the perfect one for you.
Choosing a real Christmas Tree
Next, look into what type of tree you think you’d like, there are a few classics that you may have heard of listed below.


Choosing an Artificial Tree
If you’re looking to buy an artificial tree, the options are endless. First things first, measure your space. They come in all shapes and sizes so whether you have a smaller space or want to fill a grand entrance, there’s a range of artificial floor trees ranging from 4-12ft in stores.
Once you’ve decided on the height and width of the tree you need, look at what type of lighting you want to decorate it with. If you love a traditional string lighting effect, then ensure you buy the right amount to fit around your tree. Some artificial trees even come with lights built in which might be easier and more suitable for some people.
Another thing to check is the thickness of the branches of the tree. There may be some which have thinner faux foliage, which may look best padded out with plenty of decorations. On the other hand, if you like a fuller tree, make sure to check that the branches are expandable so you can create the perfect amount of volume.
Once you’ve picked right tree for your home, all that’s left to do is decorate it with the lights, baubles and decorations that suit your style. Artificial trees are perfect for those who like to have their tree up for longer, or those who have pets and children who may cause damage to a real tree. They’re also great for single households or for people who travel a lot around the holidays.
Once you've chosen your perfect tree and got it home, it's understandable that you want to put it up as soon as possible. These are a few helpful hints to get you started and make your tree look as good as it possibly can.
- Unbox your tree, taking all of the sections out. Find the base, open it out, and insert all of the keys that came with it into the holes at the top. These will keep your base spread out and stable.
- Insert the lowest tier of your tree into the stand, this will be the piece with the longest branches, with a long-pointed end to its trunk. The very top of the tree is usually labelled A, with subsequent lower tiers being B, C, D etc. Make sure to tighten the keys in the base, to stabilise the trunk and stop it wobbling when it is fully built.
- Time to get fluffing. This part can be a little time consuming, but the result is a much better looking, more naturally shaped tree. Well worth the effort.
- Starting with the lowest layer of branches, pull each tine away from the central stem. Looking at the branch from the end - form a star shape. Do this to every branch on this layer before moving on to the next.
- Once you have reached the top of this layer, add the next layer. Continue in this way to the top of the tree.
- When you get to the very top piece, it is often easier to fluff it out before adding it to the top of a tall tree.
- Step back and take a look. Bend any branches that need moving to fill gaps.
- And there you have it, the perfect Christmas tree!
So you’ve chosen and put up your perfect tree, but no tree is complete without its lights.
There are a few things to consider when choosing your lights, starting with what mood you want to create with your Christmas decorations. Warm white lights create a soft, nostalgic glow, perfect for pairing with traditional red, gold and greens, as well as the more romantic pinks and floral displays.
For a modern look, go for bright white, which have an icy, bluish hue, and go perfectly with white, blue and silver decorations, creating a wintery theme. Warm-up with fur throws and pillows for a cosy Christmas.
A Christmas tree for the kids? Nothing beats multi-coloured lights for capturing childhood magic. Think elves, chocolates on the tree and train sets running around its base.
Once you’ve chosen your lights, how you put them on depends on whether you have an artificial tree, or a real one. Artificial trees will often require more than a real tree such as a Norway spruce.
- Light up an artificial tree.
• Pull your tree away from any walls to give yourself space to work.
• Start at the base of the tree with the bulb nearest the plug. Wind your lights onto a branch on the lowest tier near to the trunk.
• Lay the string on the centre of the branch and run towards the tip. Loop around the end of the tree branch and run back towards the centre.
• Move to the next branch on the same layer. Work in a circle around the tree, lighting every tree branch. Move up to the next layer.
•Continue up the tree until you reach the top. If you have any excess lights at the top, wind them down the trunk.
- Light up a real tree, such as Norway spruce.
*Start in the same way, making space to work, and start with your lights at the base, with the plug nearest the plug.
Push the lights as far into the tree as you can, before moving back towards the tips. If your tree is very bushy this can be tricky, but persevere, as lights pushed further into the tree add depth, and light ornaments up so you will see more of your decorations.
- Run your lights in circles around your tree, pushing them in, and bringing them back to the tips, working your way towards the top. Feed any excess lights back down the trunk. To make sure your lights are evenly spaced around your tree its a good idea to step back and look at it from a distance.
* For a 7-foot tall artificial tree, we recommend using 1500. For a similar height real tree, we recommend 1000 lights.

If you have a real tree, cut off the bottom two inches of its trunk and stand it in water for a few hours, allowing the tree to have a good drink. Leave the tree to soak and then place it in a tree stand inside. Un-net your tree and allow its branches to relax back into their natural shape.
If you have an artificial tree, unbox it, place the lowest tier in its base, and get fluffing! This step can take some time, but it’s well worth the effort. A well-fluffed tree has a much more natural shape to set off your beautiful decorations. Start with the lowest tier of branches and make sure to spread out every tine away from the stem. Work upwards in layers and finish each layer before adding the next to your tree.
Time to add lights! It’s much easier to do this before adding other decorations. Start at the bottom of the tree, with the bulb nearest the plug. Wind your lights around the tree, working along the branches towards the central trunk and back towards the tips, giving your tree a fuller look. Work upwards, and try to keep the spaces between lights even. It’s often easier to do this with the lights turned on. If you have any lights leftover, work back down the tree to fill any gaps.
*We recommend using 1500 lights for a 7-foot tall tree.
Choose a colour theme. One colour theme makes it easier to achieve a cohesive look. It could be as simple as red and gold, or as elaborate as “ Mrs Claus’s Kitchen”, full of red baubles, gingerbread men and candy canes. Once you’ve chosen a theme, stick to it. Nothing looks more out of place than two blue baubles on an otherwise red and gold tree.
Group decorations in odd numbers. Groups of three baubles together add impact or try using seven of the same decoration, spread evenly across your tree. Place larger baubles towards the trunk of your tree to add depth and smaller ones towards the tips.
Use coordinating ribbon or Christmas florals such as artificial poinsettia stems and berries to fill any gaps. We would recommend using 70 decorations on a 7-foot tall tree. Artificial trees can take more decorations the real ones, as their branches can support more weight.
- We recommend a stand with a water reservoir, allowing you to continue watering your tree while inside. Christmas trees can drink up to a pint a day.
- Finally, finish off with a tree skirt, to hide the base or stand and create a lovely backdrop for your presents.
A guide to decorating a Christmas wreath.
Adding decorating to a plain wreath is a great, inexpensive way to personalise your Christmas decor. You can add as much or as little as you like, in whatever colour scheme you want. These are a few helpful hints to make your wreath look it’s best.
* Once you’ve selected your wreath, the first step is to fluff it! Fluffing it can increase the volume of your wreath up to 2 or 3 times and gives a much better shape. Pull all the branches gently away from one another, working your way around the wreath and spreading them out.
- Choose your lights. Think about what colour you want to use to match your decorations. Will your wreath be displayed indoors or out? If out, make sure the lights you choose are outdoor ones. Battery operated lights are best if your wreath is going on a door. Trailing wires are a trip hazard. Battery packs can be tucked behind the wreath, neatly out of sight.
50 to 100 lights will be sufficient for most sizes of wreaths.
Begin with the bulb closest to the battery pack, and wind your lights back and forth across the front of your wreath, moving around it in a clockwise direction. Try to keep the lights even,y spaced.
Next, decide whether you want your decorations to fill your wreath for a traditional look, or placed asymmetrically towards the bottom for a more contemporary take on it.
- Traditional Wreath
- Start with florals. Something like artificial poinsettias or sprigs of red berries fill up large spaces and instantly say “Christmas”.
Choose five pieces, and place one centrally at the top of your wreath. Evenly space the others around the wreath.
- Next, add baubles. Choose varying sizes in coordinating colours, for example, red and gold and arrange in clusters between your foliage.
- Finish with a ribbon tied in a bow and placed at the bottom, in the centre of your wreath.
- Contemporary Wreath
- Start by adding foliage. Choose things like artificial sprays of eucalyptus, white berries, or frosted ferns. You’ll need four or five of these. Pick a point towards the bottom left of your wreath ( imagine a clock face, and start at 7/8 o clock). Push your foliage into your wreath, with half running upwards towards the top, and the other half running around the bottom of your wreath. If you want to add flowers, add one large or three small at the centre point from your foliage.
- Start adding decorations. Use a variety of shapes and sizes in coordinating colours. Place the largest near the centre of your foliage. Arrange the rest around your wreath, from the larger in the centre to smallest towards the ends, in a crescent shape, leaving the top right-hand quarter clear.
- If you want to add ribbon, count three lengths of wired ribbon, ranging from 6 inches to 1 foot long, and curl them. Push one end in under the flowers or largest baubles in the centre of your design and secure in place. Allow the ribbon to hang down.
Finally, loop a length of coordinating ribbon from the back of the wreath and secure with a knot. Use this ribbon to hang your wreath from doors, mirrors picture hooks etc. Creating a wreath adds a personalised touch to your Christmas decor.